How to Add Images to the Media Library
The majority of content types use the PXL Tool to automatically resize and format images to the needed dimensions so resizing images ahead of time is not required.
However, if you are adding images to a general content type, an accordion, or a tab, you must first resize the image to the appropriate dimensions prior to adding images to the media library.
For all other content types, you can simply add the original, high-resolution photo file to the media library and the system will adjust the size automatically according to which content type(s) you connect to the image.
Learning objectives
- Learn how to upload high-resolution images to the media library
- Understand the role of the PXL Tool in automatically resizing and formatting images for most content types
- Identify which content types still require manual resizing of images before uploading them to the media library
Instructions
How to add an image to the media library
- From the T4 Site Structure, navigate to the media library:
- Select "Content" to expand the drop-down menu in the upper left corner of T4 Site Structure
- Click "Media Library" from the drop-down menu
- Navigate to the Media Library folder for your Studio Site.
- Click "Add Media"
- Drag and drop the image file into the gray box, or click on the gray box in order to choose an image file from your computer.
- Follow the image file naming accessibility guidelines prior to uploading your photo to the T4 Media Library.
- The "description/alt text" should be a descriptive sentence that can explain what is happening in the photo (for accessibility purposes).
- Click "Save Changes"
Video tutorial
Image content types
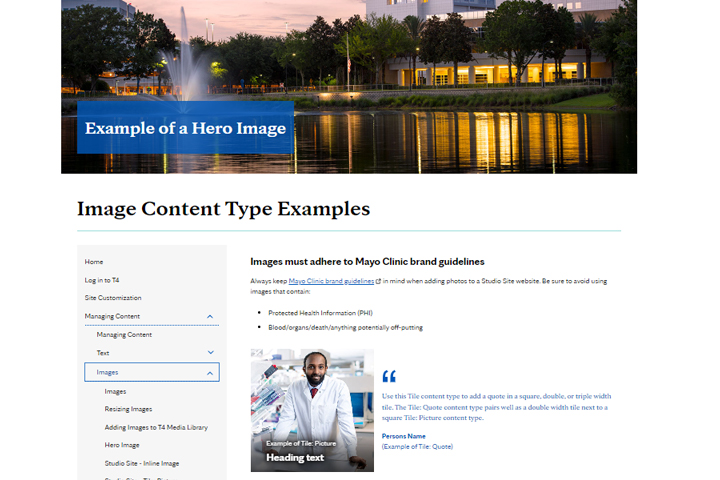
Once you have added the image to the media library, you will need to use an image content type to add the image to a Studio Site webpage. Learn more about image content types and how to use them:

With the addition of CDN PXL, it is no longer necessary to resize images prior to adding them to the T4 Media Library for most content types. Images being added to a general content type must still be resized to the appropriate dimensions, however, all other image content types are now responsive and can automatically resize images to the needed dimensions.
Prior to uploading a new photo to the T4 Media Library to use on the college.mayo.edu website, please ensure the image fits our photo styles and standards.
Best practices
- Upload high-resolution, high-quality images for all content types
- After uploading images, check how they appear on different content types to ensure they display correctly, especially when manually resizing for specific content types
- Set up folders based on content categories, projects, or themes (e.g., "Banners," "Team Profiles," "Blog Images") to keep your media library organized and easy to navigate
- Use a consistent folder structure that makes sense for your team's workflow and content needs, making it easier to locate and manage images
- Use descriptive, consistent, and easy-to-understand names for your image files (e.g., "event-banner-2024.jpg" or "john-doe-profile-pic.jpg")
- Add descriptive alt text to ensure the image is accessible to all users, including those relying on screen readers
- When possible, use keywords or tags in the image names to make it easier to search for specific content
Additional resources
By now, you should feel comfortable uploading and organizing images with folders and naming conventions in the T4 Media Library to improve efficiency, consistency, and ease of access.
