Build Profiles

Page Content

Profiles

When it comes to highlighting individuals — faculty, staff, trainees, or alumni — on the website, there are a few different options. Typically, for all of the options outlined below, we try to include the individual's name and credentials as listed in the Quarterly, their Quarterly photo, title, bio, and an optional external profile link. 

Options to highlight individuals include: 

  • Profile tables/grids. Profile tables are used to highlight individuals in a 2 column table in a general content type with a small 125x150 image in the left column and information about the individual in the right column.
  • Profile cards. Profile cards are used to highlight individuals in a card format. The profiles typically display two per row, with an option to use a slider that displays three cards at a time and allows the user to flip through all of the cards.

Profile tables/grids

Use a profile table (sometimes called a profile grid, trainee table, trainee grid, faculty table, or faculty grid) to add individuals in a two column table in a general content type, an accordion, or a tab.

There are two different ways to add a profile table, one that can be used to add trainees to a profile table (without needing to resize their Quarterly image or upload the image to the T4 Media Library), and one that utilizes the portrait cache to download an already re-sized Quarterly image (125x150) that you need to upload to the T4 Media Library in order to use.

Add a profile table/grid

  1. Follow the instructions to add the content type you'd like the table to appear in (a general content type, an accordion, or a tab).
  2. Then, follow the instructions on how to add a table to a text-only information
  3. Then, follow the instructions to create a profile table/grid for trainees and how to use the FTP server or to create a faculty and trainee profile grid/table using the portrait cache.

Add a table for text-only information

Tables can be added to a general content type, an accordion, or a tab. Follow the instructions on how to add those content types to the college.mayo.edu website before proceeding with the instructions below to add a table to the content type. 

Add a table for data/text-only information

Note: Do not use this for tables that include displaying photos.

  1. Click Table on the toolbar menu.
  2. From the drop down menu, hover over Insert table with column headings
  3. Move your cursor to hover over the squares that match the number of rows/columns/cells that need to be in your table. Click on the lowest right corner box that you need to insert the table. 
  4. Insert the headings of each column in the top row of the table.
  5. Add the content into the table cells. 
  6. Cells should automatically adjust to fit the content added. Do not manually adjust the size of the rows or columns.
  7. Click the Save Changes save content as a draft. Preview your updates and ensure the content displays appropriately, follows MCCMS Styles and Standards, and is free of errors. If everything displays correctly in the preview, approve the updates to be published.

Important: Do not manually adjust tables to have specific height and width as this can impact how the table displays dynamic across digital devices. The table will adjust to the content entered.

Quick ways to add or remove rows

  • Add a row to the table. Click an existing row. A table formatting menu will pop up. Select the "Insert row before" icon or the "Insert row after" icon depending on what you need. 
  • Remove a row from the table. Click into the row you need to remove. A table formatting menu will pop up. Select the "Delete row" icon. 
Column 1 heading Column 2 heading
row 1, column 1 text row 1, column 2 text
row 2, column 1 text row 2, column 2 text

How to create a profile table/grid and use the FTP server

This provides instructions on how to create a profile table/grid and incorporates the use of the FTP server - a quick way to add headshots from Mayo's Quarterly to the table.

Creating a new profile table

  1. Copy this code and paste it into Source code (Tools > Source code).
  2. Click in the left column table cell to ensure you're in the correct table cell for adding the photo.
  3. Go to the menu and select Insert. Then select the image icon, known as Insert file link or image
  4. The media library will open automatically. Go to the Academics folder (Categorised > MCCMS > Content Assets > Academics).
  5. In the Academics folder, find the default-profile-placeholder-image.jpg. Go to the right and click on the blue Actions menu.
  6. Scroll down and select Select with layout.
  7. Select alternative layout will appear. Find and select image/profile-from-ftp.
  8. A transparent default placeholder image will populate the table cell. 
  9. Double-left-click the transparent default placeholder image. Set media attributes will appear.
    • Click in the Imageid field and paste the person ID number.
    • Click in the Alt text field and the person's name and credentials.
    • The width is set at 125 by default; leave it as-is.
  10. Click Save.
  11. Repeat steps 2-10 until you're done adding trainees.
  12. Click Save changes.
  13. Do a Preview to ensure everything appears properly.

Important: Do not manually adjust tables to have specific height and width as this can impact how the table displays dynamic across digital devices. The table will adjust to the content entered.

How to create a profile table/grid and use the portrait cache

Profile tables/grids are mostly created in a general content type, but they could also be added in an accordion or tab

Complete the following before you create the profile table.

  1. Obtain the faculty or trainee images through the Portrait Cache.
  2. On this page, scroll up to the accordion section named Add a table for data/text-only information and follow those instructions to build the table.

Creating a profile table

  1. In the table, click on the first cell where the image should be placed.
  2. In the Main body, go to the toolbar and click on the image icon (a square located at the end).
  3. Navigate to the T4 Media Library where the 125x150 image is housed. 
  4. Click on the image and the image will insert into the table cell.
  5. Click on the table cell to the right.
  6. Add the text for the person (check to make sure your image matches the correct content).
  7. Click on Save changes to save content as a draft. Preview your updates and ensure the content displays appropriately, follow MCCMS Styles and Standards and is free of errors. If everything displays correctly in the preview, approve the updates to be published.

Important: Do not manually adjust tables to have specific height and width as this can impact how the table displays dynamic across digital devices. The table will adjust to the content entered.

Additional resources that may be helpful:
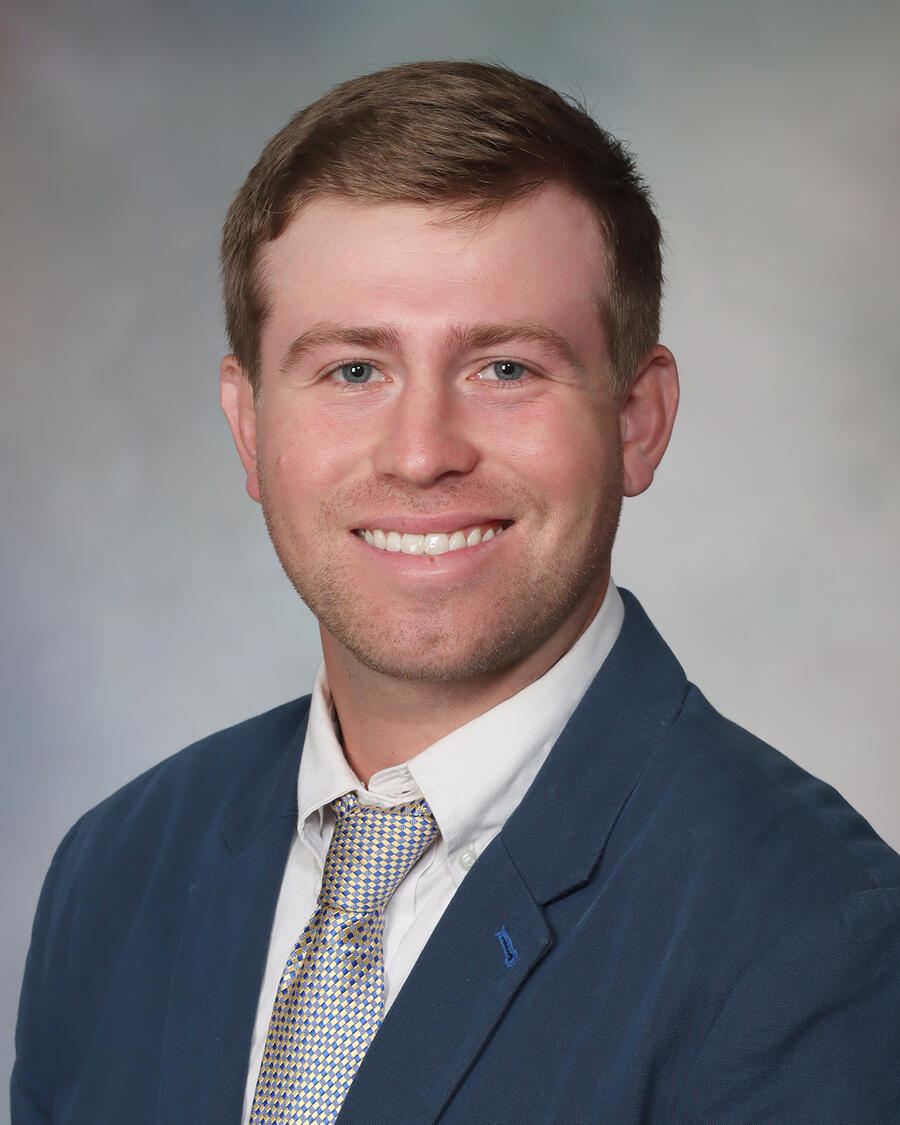
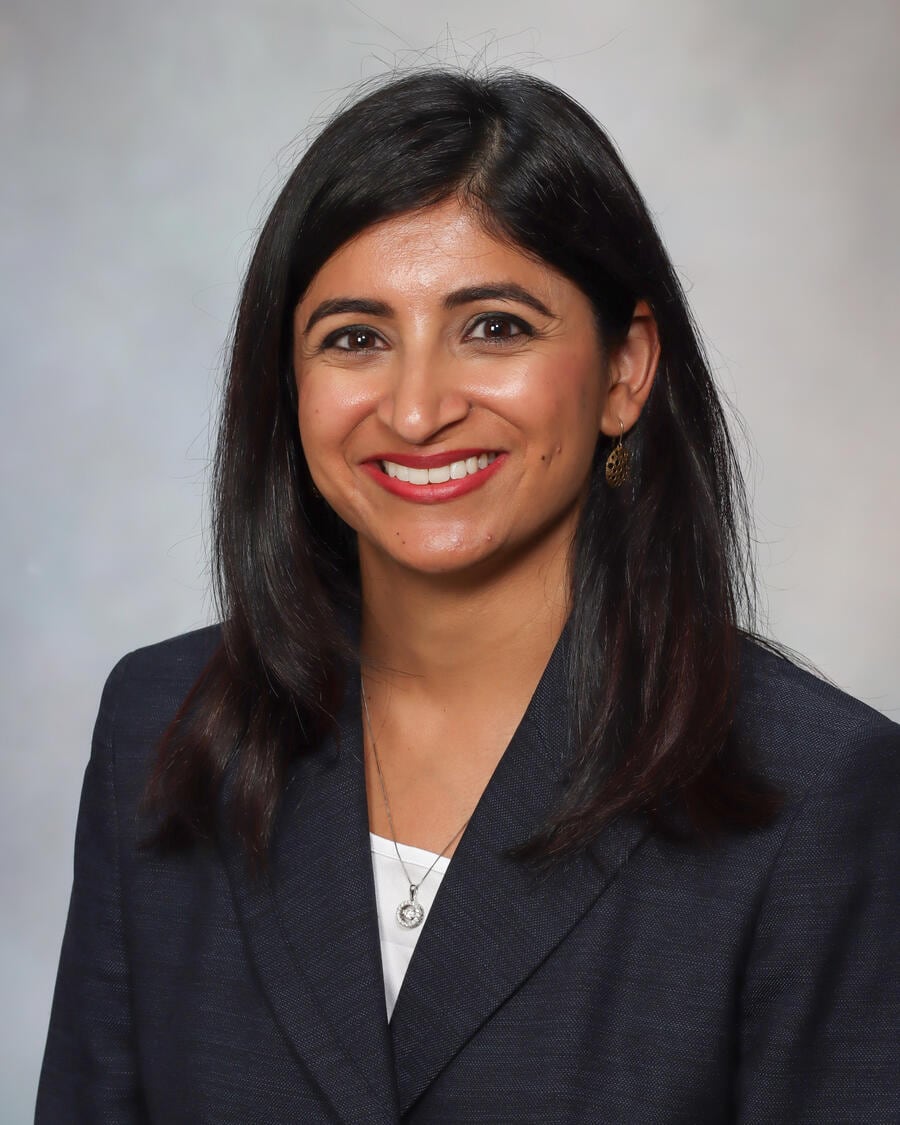
Example of a profile table

name1

Thomas Lee, M.D.

Hometown: Salt Lake City, UT
Medical school: Chicago Medical School - Rosalind Franklin University

What drew you to Mayo Clinic for (fellowship/residency) training? Quote from trainee here answering the question above. Some programs choose to have all trainees answer the same question, some programs choose to feature a different question for each trainee to get a a fuller picture of everything the program has to offer.

name2

Minerva Pruitt, M.B.B.S.

Hometown: Washington, D.C.
Medical school: Virginia Commonwealth University School of Medicine
Residency: Internal Medicine, Mayo Clinic, Rochester, MN
Clinical interests: Clinical education, multiple myeloma
Hobbies: Surfing, volunteering at local animal shelters, spending time with family and friends

Profile cards

Use a profile card to highlight an individual (faculty, staff, trainees, or alumni) and include their photo, title, bio, and an optional external profile link in a card format. Profile cards can display two per row or can be used with a slider functionality that allows three cards to display at a time and adds arrows on either side to allow the user to flip through all of the profile cards. 

It is recommended to only use profile cards when you are featuring between two and six individuals, or in some other extenuating circumstances.

Examples of profile cards

Persons Name, M.D.

Persons Name, M.D.

Program Director

Some people have long names or long titles. If the text doesn't look right at all screen sizes, then add it to the Profile Description instead.

Show more
Razvan Chirila, M.D.

Razvan Chirila, M.D.

Associate Program Director

Dr. Chirila is a core faculty member. He has a special interest in medical education, systems-based practice, and health care administration, with emphasis on resource utilization and clinical documentation. He oversees the outpatient rotations in general internal medicine. 

Show more View full profile
Katie Schupack, D.O.

Katie Schupack, D.O.

Assistant Professor of Family Medicine

Clinical interests:

  • Family medicine
  • Women's health
  • Preventive medicine
  • Geriatric medicine
Show more View full profile

Add a profile card 

The profile content type is used when wanting to add information about individuals to a page, such as the Meet Our Trainees page or the Meet The Faculty page. Only use profiles if you will be featuring more than two, but less than four individuals. Use a profile grid in a general content type if you will be featuring more than four individuals. Use a general content type if you are only featuring one or two people (use a similar format to the Director's Welcome message).

  1. Navigate to the program page.
  2. Open the content tab of the page you are working on. 
  3. Click Add content
  4. Click Profile.
  5. Use the following content elements:
    • Name: Add descriptive name of content type to be used within T4 Site Structure.
    • Main heading: Optional, used to add a main H3 heading above a group of multiple profiles.
    • Main description: Optional, used to add a main description (sentence or paragraph) prior to a group of multiple profiles.
    • Slider: Select "yes" to add clickable arrows page visitors can use to manually scroll through a minimum of four consecutive profiles.
    • Profile Name: Required, used to add the name of the featured person (match name and credentials to the Quarterly)
    • Profile Title: Optional, used to add featured person's title.
    • Profile Description: Add the main content of the profile (could be a quote, contact information, etc). 
    • Profile Image: Click 'Select media' to navigate to the image for profile card. Profile cards use CDN PXL, so you do not need to resize the image prior to adding it to the T4 Media Library.
    • Sub Heading: Use to add an optional sub heading.
    • Sub Description: Use to add an optional sub description.
    • Open link in new tab: Select "yes" to have the link open in a new tab.
    • External Profile Link: Add a link to an external research profile like this one on mayoclinic.org. Default link text is "View full profile."
    • Internal Profile Link: Used to link to a different page on college.mayo.edu (not typically used with profile cards).
    • Use default link text: Checked by default. Unselect checkbox if you'd like to write custom text for the link. 
    • Custom Link Text: Add custom text for the profile link.
    • Person ID: Do not use. This option will be available in the future but is not currently ready.

Content in profile tables/grids or profile cards

Profile content varies depending on the program and if it is for faculty or trainees. Learn more about some information you may want to include in a profile when: 

Highlighting faculty

When highlighting faculty in a profile table/grid or in a profile card, you may want to include some or all of the following information:

  • Name and credentials (match the Quarterly)
  • Academic title
  • Medical school/residency/fellowship information
  • Clinical and/or research interests
  • A short description on how trainees will most often interact with this person (ie. "Director of community outreach" or "Leads the xyz rotation in PGY-2")
  • Personal interests or hobbies
  • A short 2-3 sentence bio
  • Quote from the individual
  • A link to their full Mayo profile (like this one) and/or a link to their PubMed citations (like this one). 

Highlighting trainees

When highlighting trainees in a profile table/grid or in a profile card, you may want to include some or all of the following information:

  • Name and credentials (match the Quarterly)
  • Hometown
  • Medical school
  • Residency
  • Fellowship
  • Clinical interests
  • Personal interests/hobbies
  • Short "About me" 
  • Favorite thing to do in (city)
  • Quote answering one of the following questions:
    • What drew you to Mayo Clinic for (fellowship/residency) training?
    • Why Mayo Clinic?
    • What makes this program unique?
    • Why did you choose (this specialty)?
    • What is living in (town) like for you?
    • What does your future look like after completing this program?