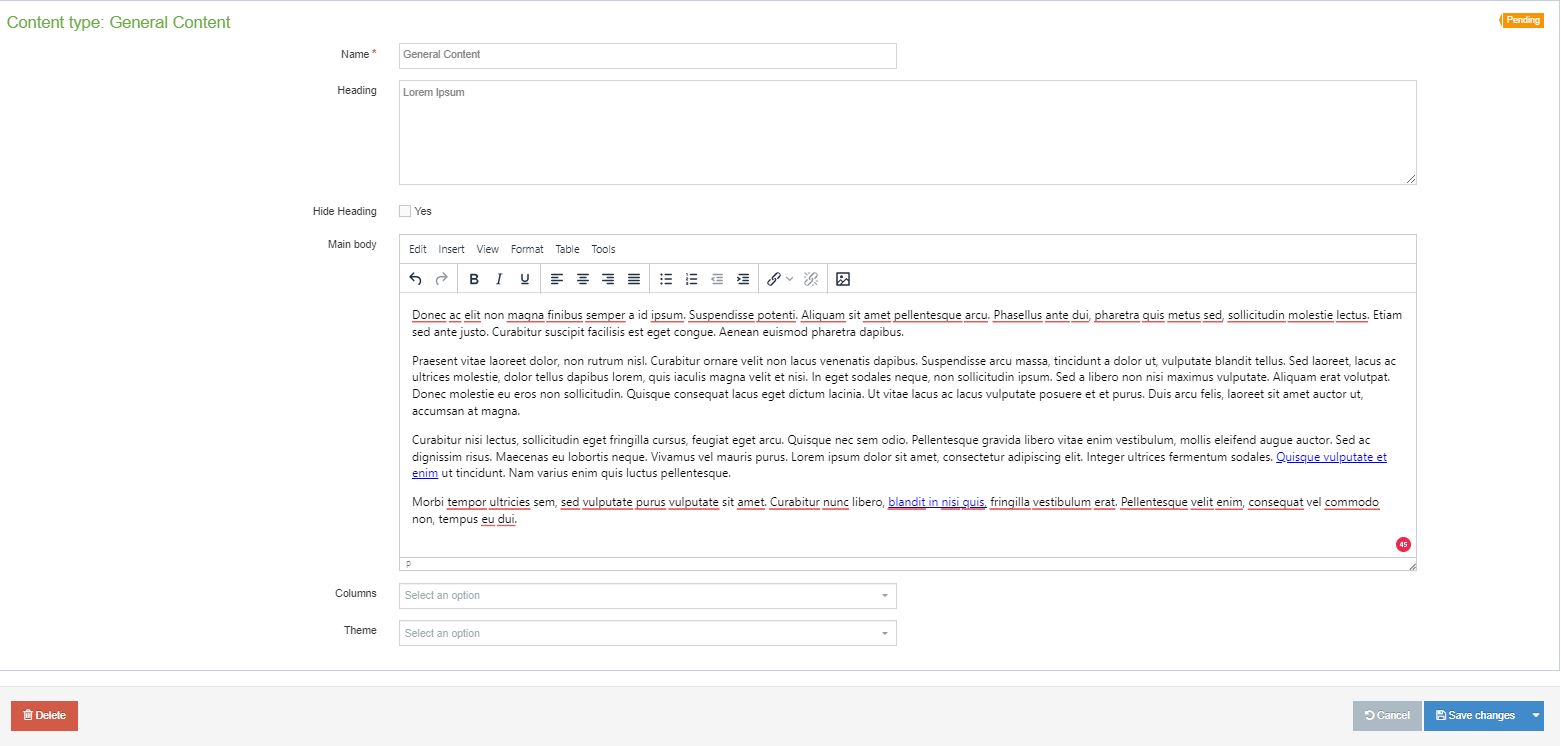
Add a new 'From the program director' message
Follow the steps on adding a new general content type described above, then:
- Add the section heading "From the program director" as an H3 heading at the top of the Main body field in the general content type.
- Add the text from the program director's welcome message.
- Add a 318x318 photo of the program director (already resized and uploaded to the T4 Media Library):
- Click to the left of the "From the program director" heading text.
- Click the image icon on the main toolbar.
- Navigate to the program folder in the T4 Media Library that contains the photo that you need.
- Click on the 318x318 photo of the program director.
- Double-click the photo and type "right" in the Float field.
- Click Save Changes button to save content as a draft. Preview your updates and ensure the content displays appropriately, follows MCCMS Styles and Standards, and is free of errors. If everything displays correctly in the preview, approve the updates to be published.
Edit an existing 'From the program director' welcome message
- Select the general content type that contains the program director's welcome message.
- Make needed adjustments to the text.
- If you need to update the photo:
- Click on the existing photo and press "delete" on your keyboard.
- Click to the left of the "From the program director" heading text.
- Click the image icon on the main toolbar.
- Navigate to the program folder in the T4 Media Library that contains the photo that you need.
- Click on the 318x318 photo of the program director.
- Double-click the photo and type "right" in the Float field.
- Click Save Changes button to save content as a draft. Preview your updates and ensure the content displays appropriately, follows MCCMS Styles and Standards, and is free of errors. If everything displays correctly in the preview, approve the updates to be published.
Profile tables/grids are mostly created in a general content type, but they could also be added in an accordion or tab.
Complete the following before you create the profile table.
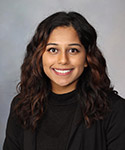
- Obtain the faculty or trainee images through the Portrait Cache.
- On this page, scroll up to the accordion section named Add a table for data/text-only information and follow those instructions to build the table.
Creating a profile table
- In the table, click on the first cell where the image should be placed.
- In the Main body, go to the toolbar and click on the image icon (a square located at the end).
- Navigate to the T4 Media Library where the 125x150 image is housed.
- Click on the image and the image will insert into the table cell.
- Click on the table cell to the right.
- Add the text for the person (check to make sure your image matches the correct content).
- Click on Save changes to save content as a draft. Preview your updates and ensure the content displays appropriately, follow MCCMS Styles and Standards and is free of errors. If everything displays correctly in the preview, approve the updates to be published.
Important: Do not manually adjust tables to have specific height and width as this can impact how the table displays dynamic across digital devices. The table will adjust to the content entered.
Additional resources that may be helpful:
This provides instructions on how to create a profile table/grid and incorporates the use of the FTP server - a quick way to add headshots from Mayo's Quarterly to the table.
Creating a new profile table
- Copy this code and paste it into Source code (Tools > Source code).
- Click in the left column table cell to ensure you're in the correct table cell for adding the photo.
- Go to the menu and select Insert. Then select the image icon, known as Insert file link or image.
- The media library will open automatically. Go to the Academics folder (Categorised > MCCMS > Content Assets > Academics).
- In the Academics folder, find the default-profile-placeholder-image.jpg. Go to the right and click on the blue Actions menu.
- Scroll down and select Select with layout.
- Select alternative layout will appear. Find and select image/profile-from-ftp.
- A transparent default placeholder image will populate the table cell.
- Double-left-click the transparent default placeholder image. Set media attributes will appear.
- Click in the Imageid field and paste the person ID number.
- Click in the Alt text field and the person's name and credentials.
- The width is set at 125 by default; leave it as-is.
- Click Save.
- Repeat steps 2-10 until you're done adding trainees.
- Click Save changes.
- Do a Preview to ensure everything appears properly.
Important: Do not manually adjust tables to have specific height and width as this can impact how the table displays dynamic across digital devices. The table will adjust to the content entered.